Once your admin enables your organization, and your account, for multi-factor authentication (MFA) you have to set up your user account to use it. This should only take a minute or so.
By setting up MFA, you add an extra layer of security to your Microsoft 365 account sign-in. For example, you first enter your password and, when prompted, you also type a dynamically generated verification code provided by an authenticator app or sent to your phone.
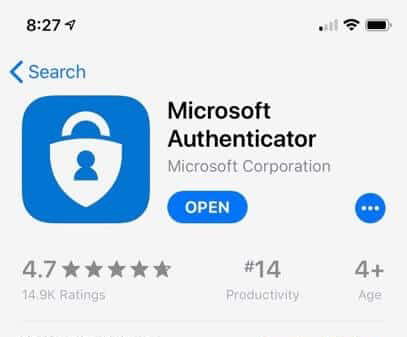
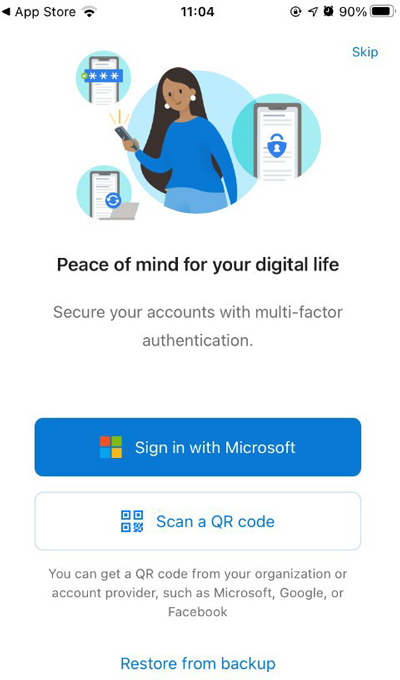
1. The default authentication method is to use the free Microsoft Authenticator app. If you don't have it installed please visit the Apple App Store or Google Play store to download the app, which looks like this in the store:
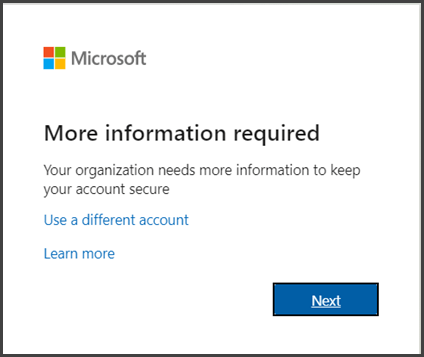
2. Sign in to Microsoft 365 here with your work account with your password like you normally do. After you choose Sign in, you'll be prompted for more information. If you have the Microsoft Authenticator installed on your mobile device, select Next and follow the prompts to add this account.
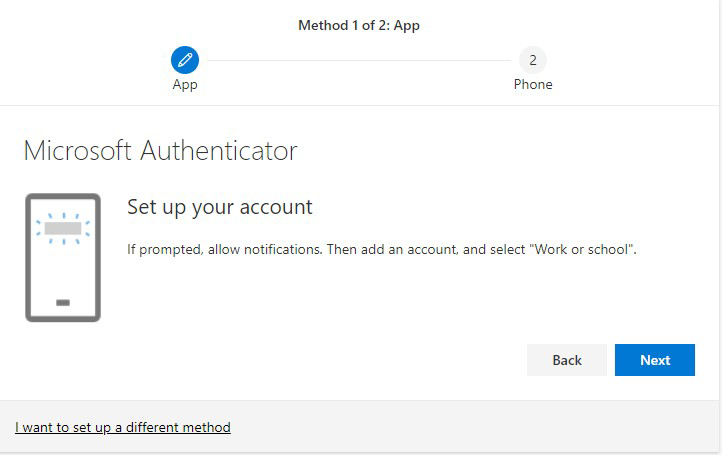
3. On the MFA set-up process screen, click 'Next'
4. The next screen will display a QR code
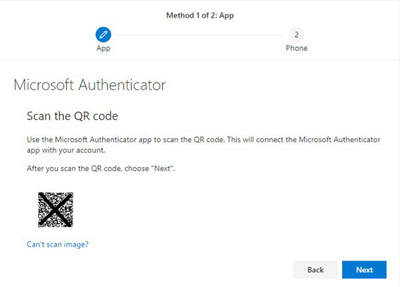
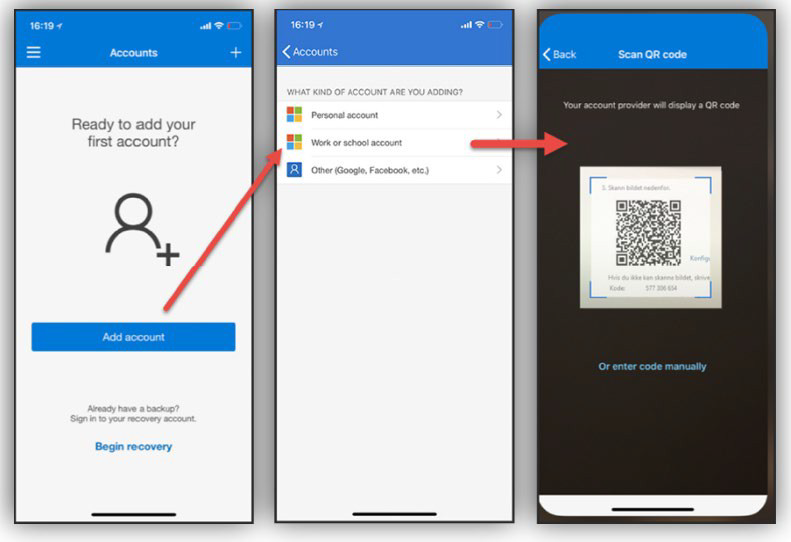
5. Open the Microsoft Authenticator App and select Scan a QR Code
6. Select Add Account > Work or School account > Point your phone's camera at the QR code on your computer screen to scan.
7. Go back to the MFA set-up screen on your computer and click 'Next'
8. You should now be presented with a screen confirming your registration is successful.
9. Click 'Done'
Congratulations, you have successfully configured your Microsoft 365 Multi Factor Authentication!
10. If you receive a prompt at login at any point in the future, simply open your Microsoft Authenticator App and enter the code provided to you.

